


I was recently invited to a friend’s for a potluck Shabbat dinner, and decided to bring homemade challah. As I was shaping my loaf, I was thinking about how beautiful it would be to have a rainbow challah. Growing up, my mother would occasionally dye the braids different colors to celebrate different holidays (Halloween was orange and black; Memorial Day and July 4 were red, white, and blue; Valentine’s Day was red, pink, and white in a heart shape) or big sport weekends (maize and blue for Thanksgiving Shabbos, orange and blue for Tigers opening day, red and white when the Wings made the playoffs, etcetera). But I thought of the color scheme too late to dye the sections.
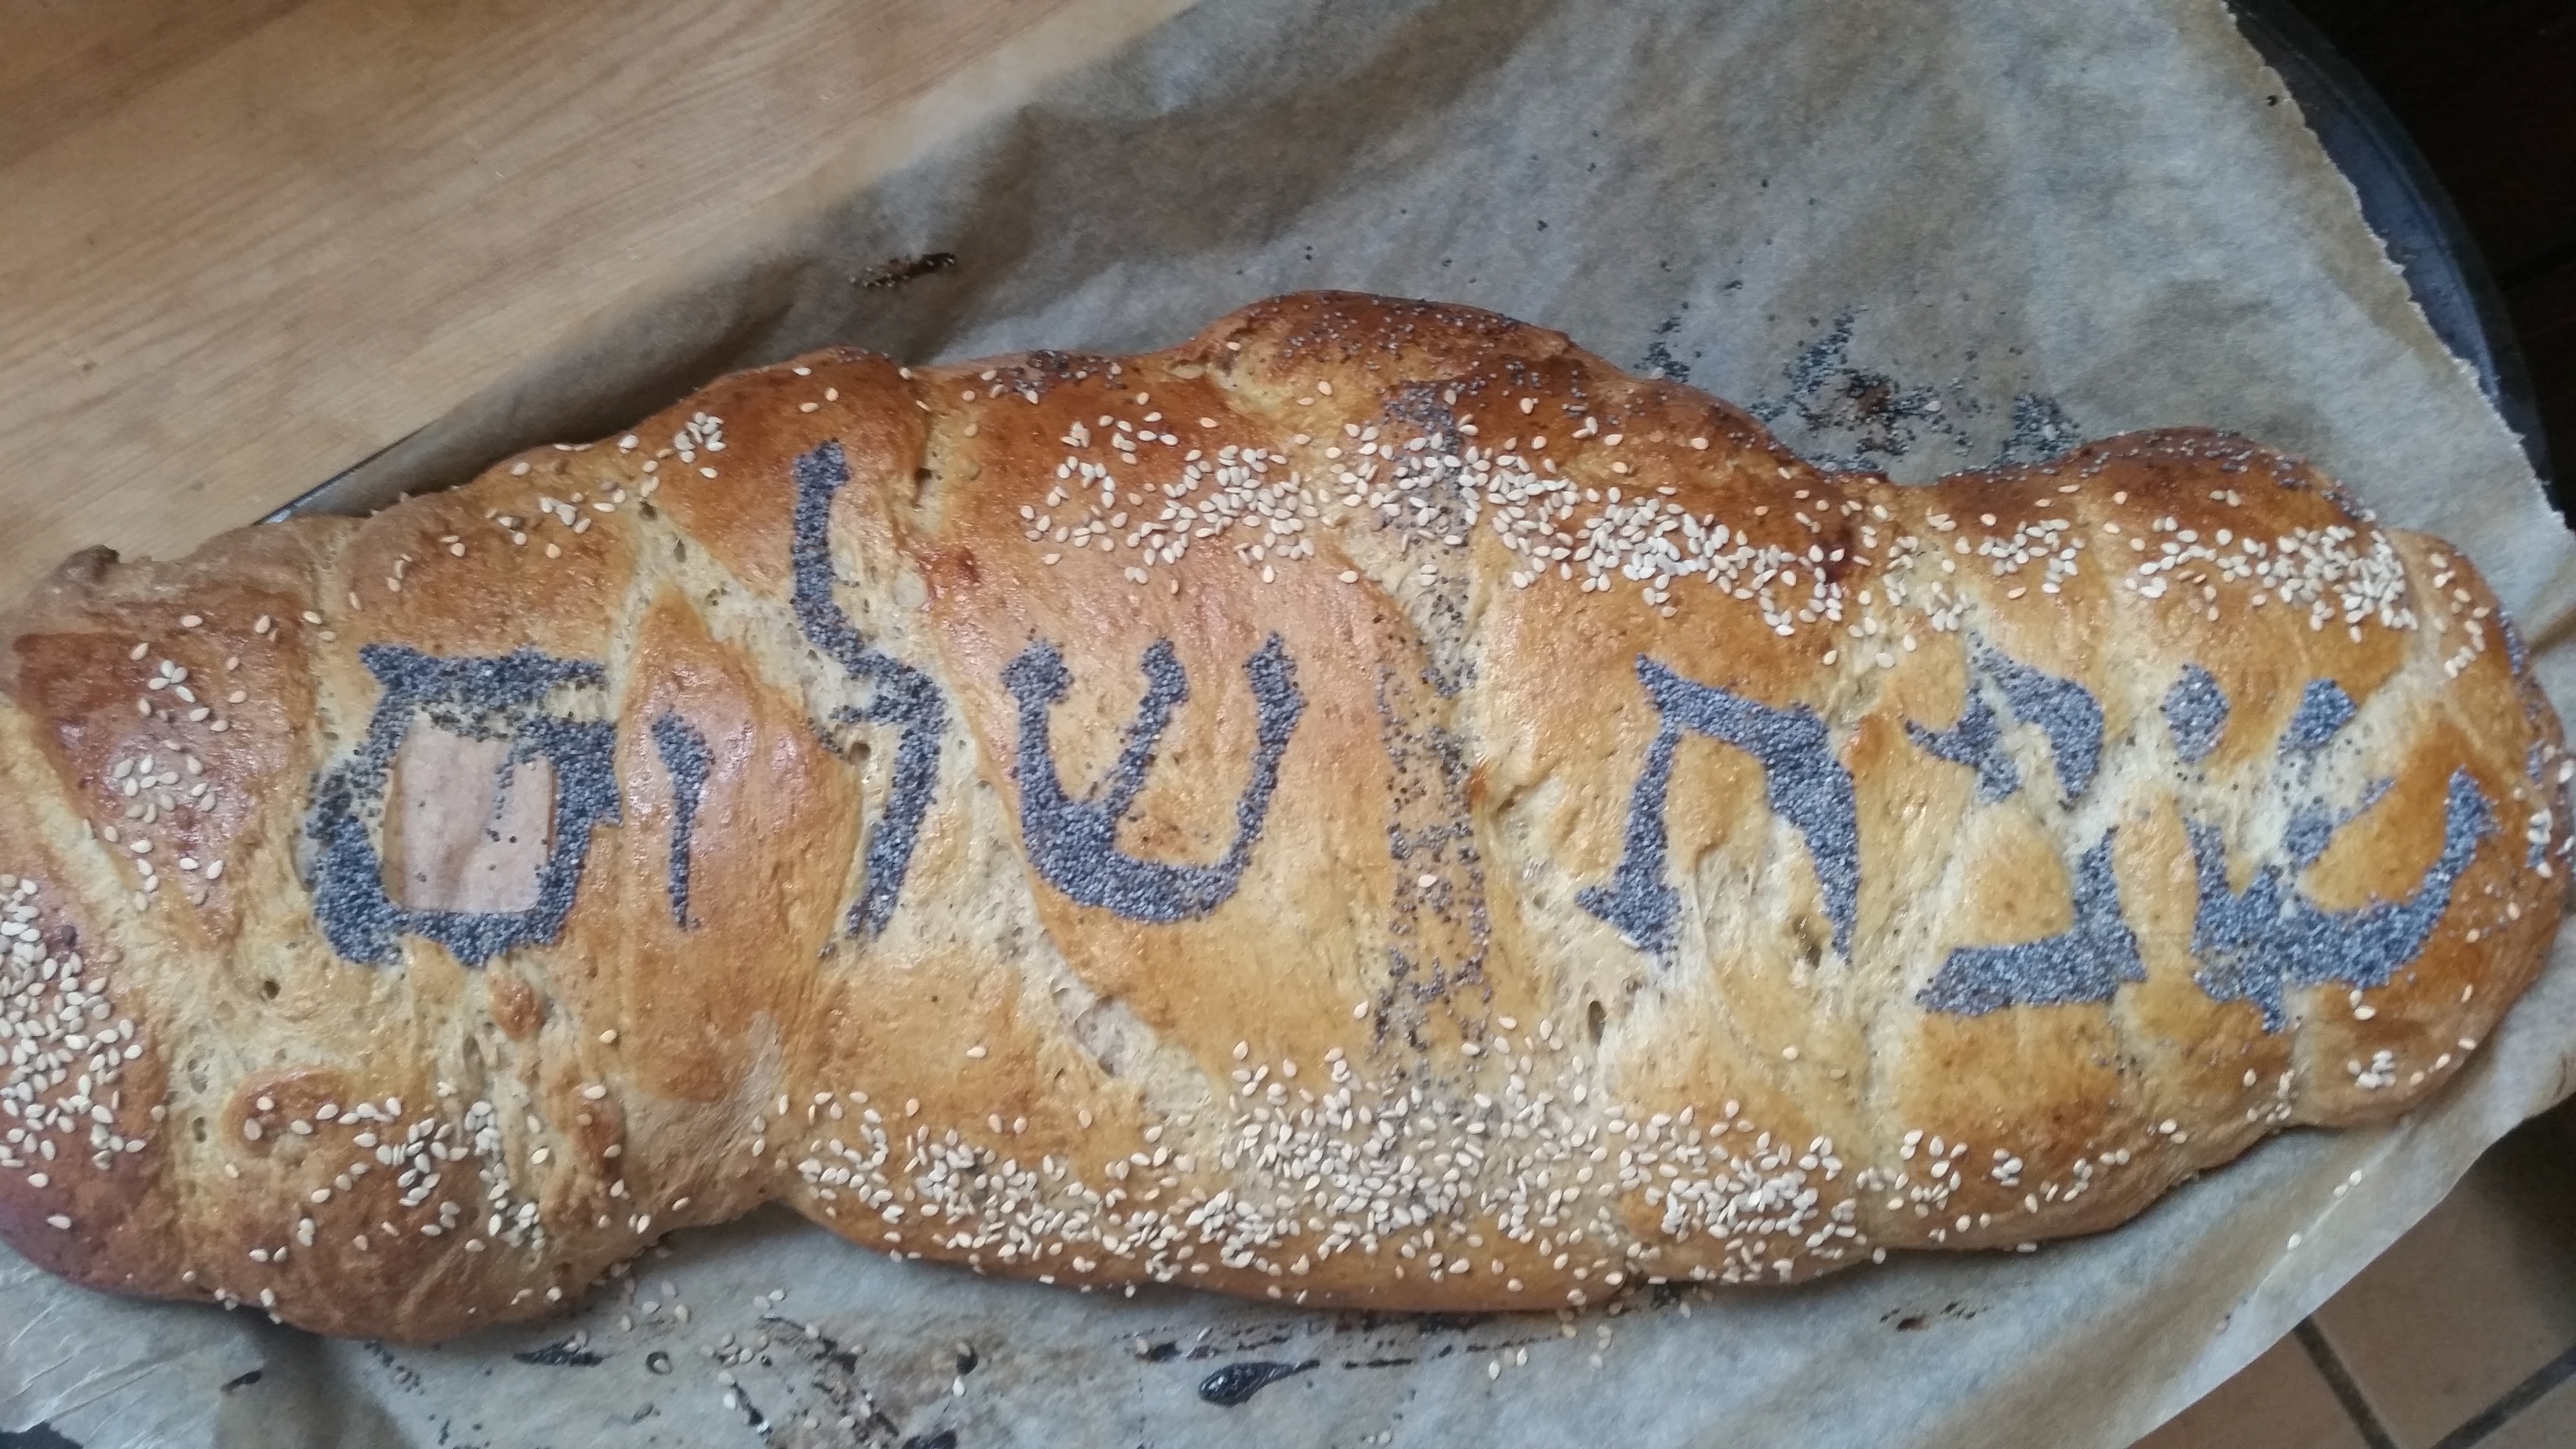
I then thought I could dye sesame seeds and put them in a stripe pattern, inspired by the seeded challahs at Breads Bakery and My Most Favorite Food. But I didn’t have enough food coloring, so I had to do something else. Fortunately, I was struck with a great idea: make a stenciled message! So lo and behold, I made a Hebrew stencil.
You can use most any challah recipe you’d like for the dough (though check out the award-winning one from my family below), and then follow the instructions below to step up your challah game.
Some inspiration for messages include Shabbat Shalom (this one says so, in Hebrew) or Good Shabbos in Yiddish/English, heart shapes or peace signs, the name of the weekly parsha, an edible wedding proposal, or simple stripes of seeds. Do whatever you feel comfortable with, and it will be great.
- Prepare a stencil (cut the letters out of wax paper with a utility knife).
- Brush braided and risen challah with egg wash. Then lay the stencil on the challah.

- Carefully pour/place seeds over stencil.
- Blow or shake off extra seeds. Careful— they may go onto uncovered sections of your challah.
- Remove stencil (gently!). Disclaimer about using a lot of small seeds: you will need to sweep.
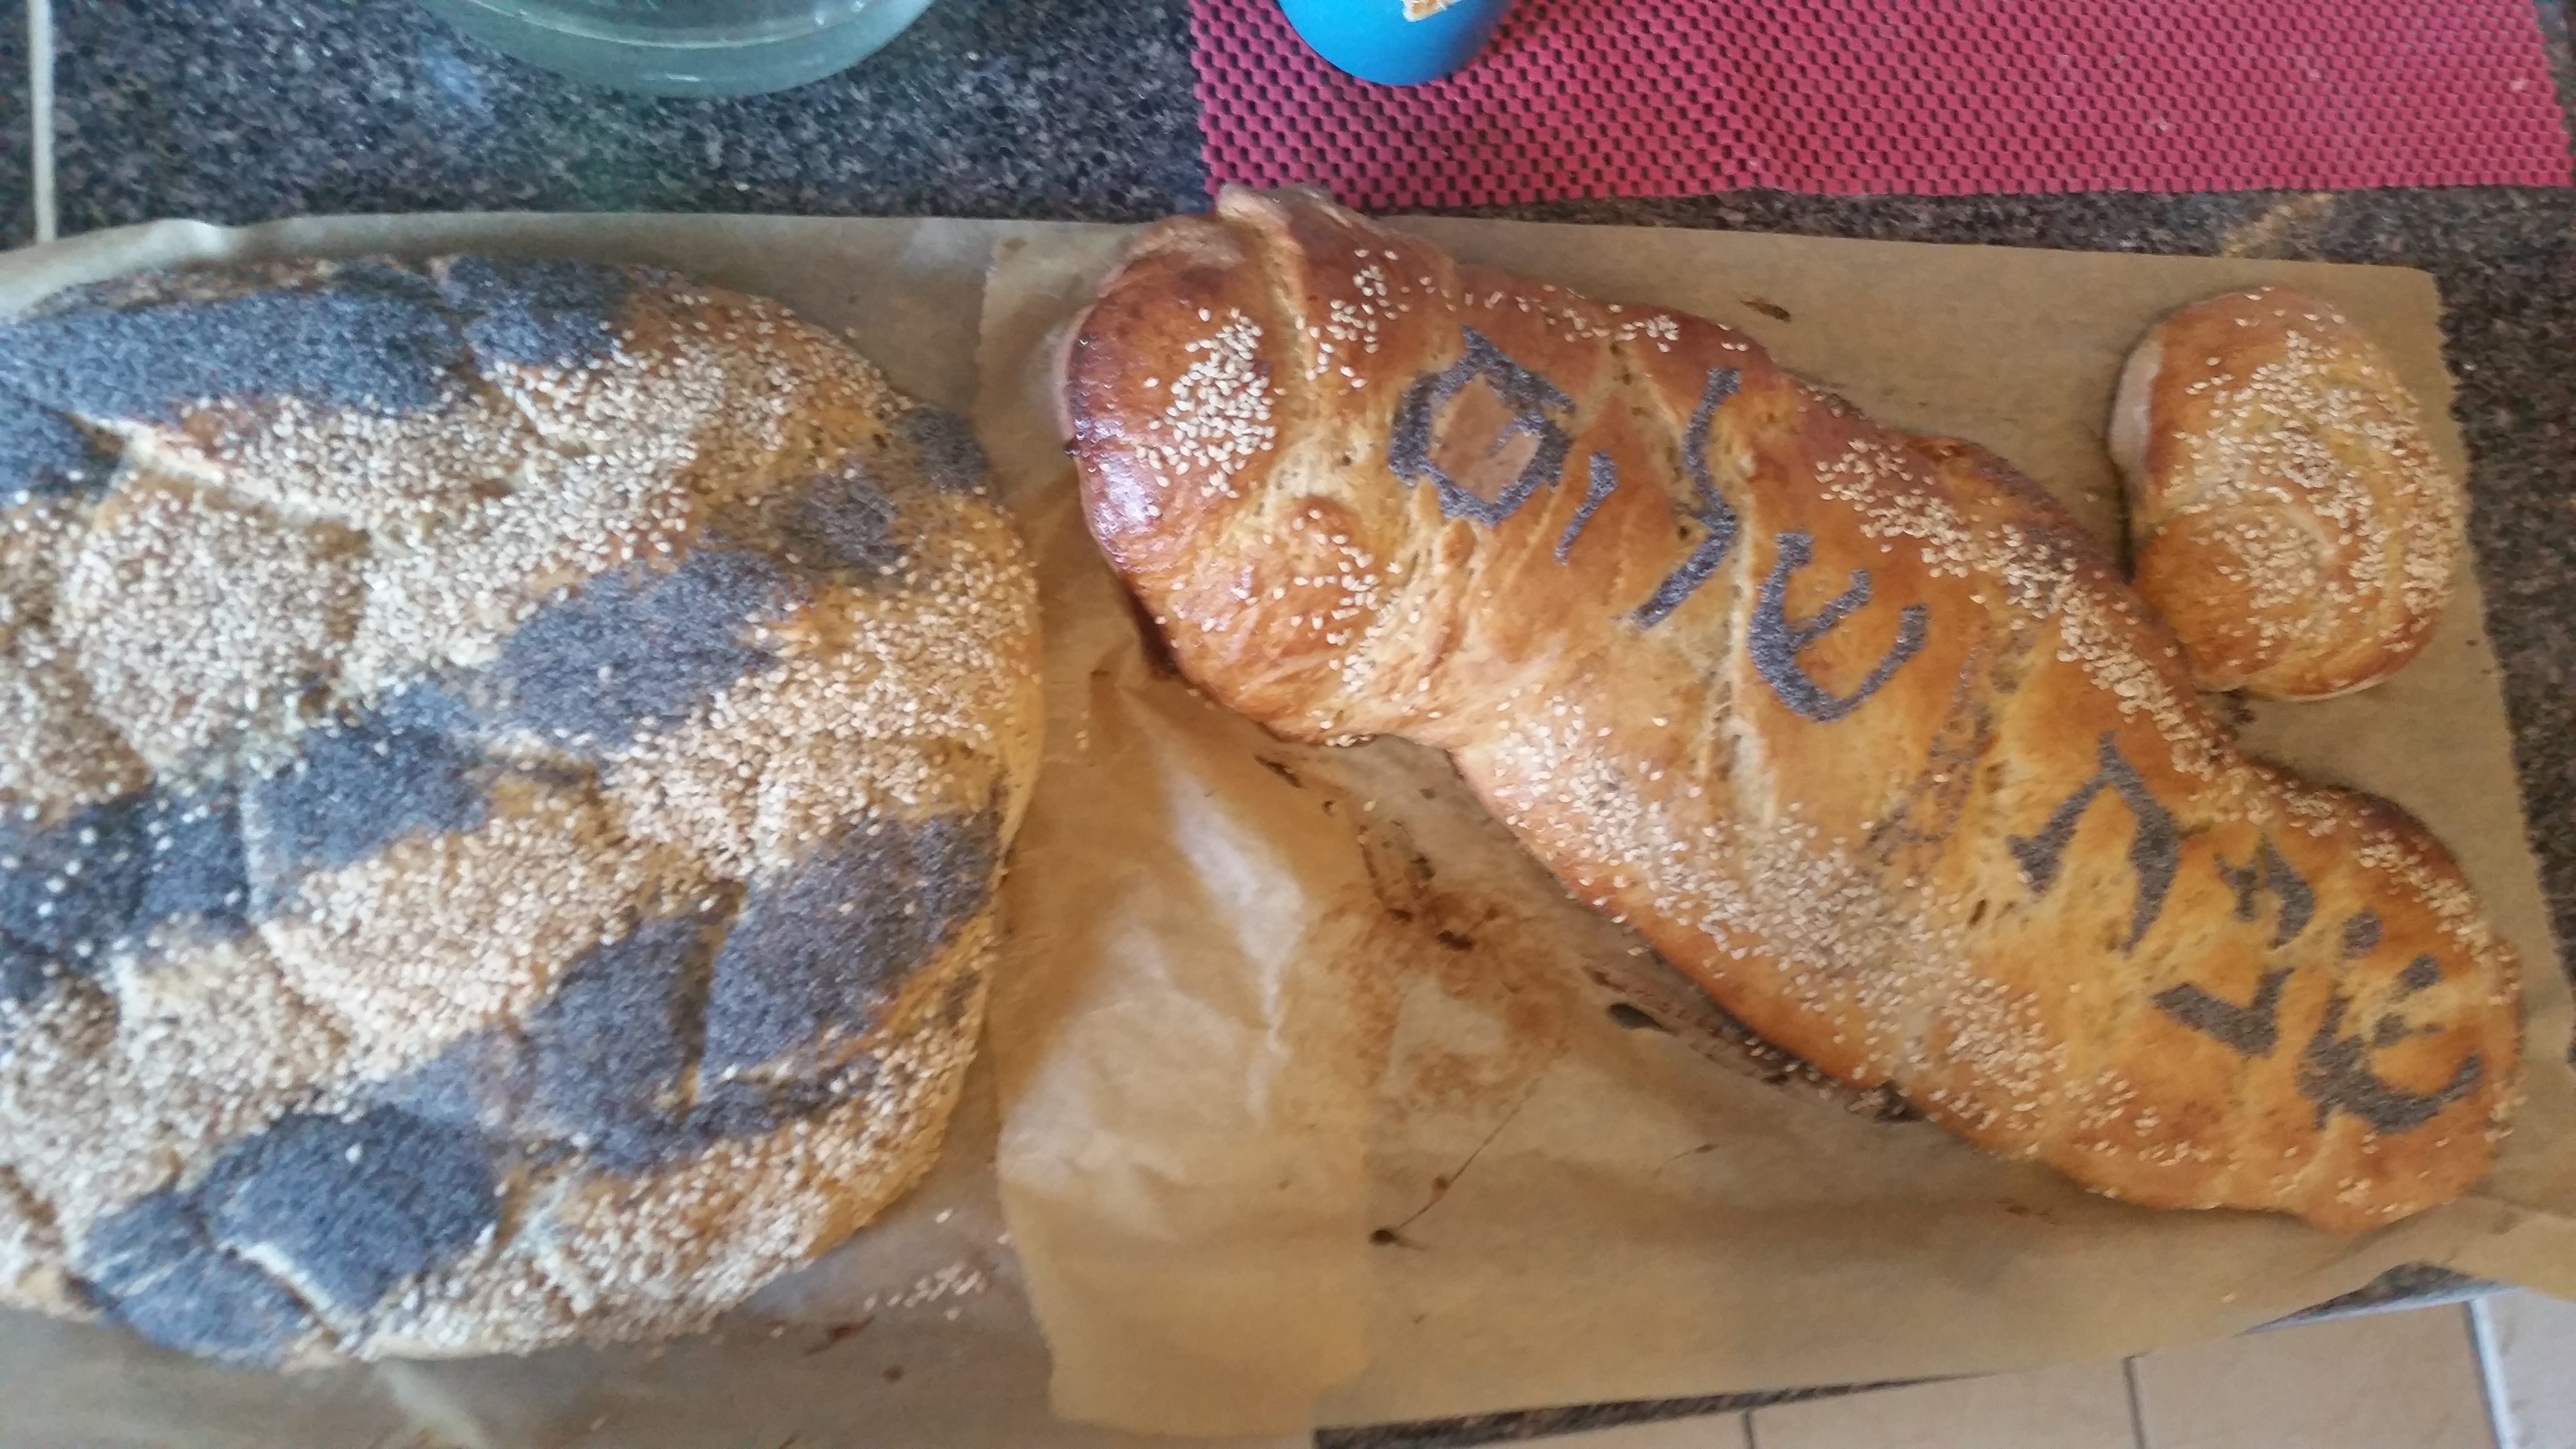
- If desired, carefully fill the void around stenciled design. This is unnecessary and purely aesthetic, but the black-on-white looks good.
- Sweep up or vacuum the floor, which may by now be covered in seeds.


You can use any recipe, but I have been using my mother’s for as long as I could make a braid, and you’re welcome to it, too.
It has never lost a challah competition (but it has tied for first in a handful)!
Davida Robinson’s Challah recipe
- 2 packages of dry yeast (4.5 tsp)
- 3/4 cup + 1 teaspoon sugar
- 3 tablespoons vegetable oil
- 2 cups hot water + ¼ cup
- 3 eggs
- 7 – 8 cups flour (can split it whole wheat and white, but all white works too)
- 1 tablespoon honey
- Dissolve yeast with one teaspoon of sugar in warm water. Let stand 10 minutes to “proof.” (It will bubble up.)
- Mix sugar, and oil in hot water. Beat in 2 eggs, and then add proofed yeast mixture.
- Gradually add flour and knead until smooth (not sticky).
- Place dough in greased bowl, cover, and let rise for about one hour.
- Divide dough in half to make two challot. At this point you can braid, wrap or knot your dough into whatever shape you wish and let rise on cookie sheet with parchment paper for another hour.
- Brush with egg yolk and honey mixture and bake in oven at 350F for 30 minutes. If you push in the top and it springs back it is done.
Feel free to share pictures of your decorated Challah! Tweet @JewcyMag, or tell us about it in the comments below.
Avery Robinson is a culinary historian from Detroit. He limits his baking during the summer to special occasions and when his roommate is not home.
Images courtesy of Avery Robinson